

How To Upload Streams From Twitch To Youtube
Highlighting is a cool feature that lets yous show off the best parts of your six-hour Twitch streams. If you highlight one stream multiple times, you can and so string those together subsequently for a highlight reel that could go upward on YouTube. This allows you to immortalize your stream, especially because, if you aren't a partner, Twitch deletes streams afterwards 14 days. In one case your stream is done, you are able to get back and create multiple highlights of ane stream or publish the unabridged stream to YouTube as one video.
Y'all can view recent highlights fabricated by scrolling down to About Recent Videos.
What Yous Need to Highlight Your Stream
- Twitch Account
- Access to the desktop version of Twitch
- Archived Stream
Notice and Pick an Archived Stream on Twitch
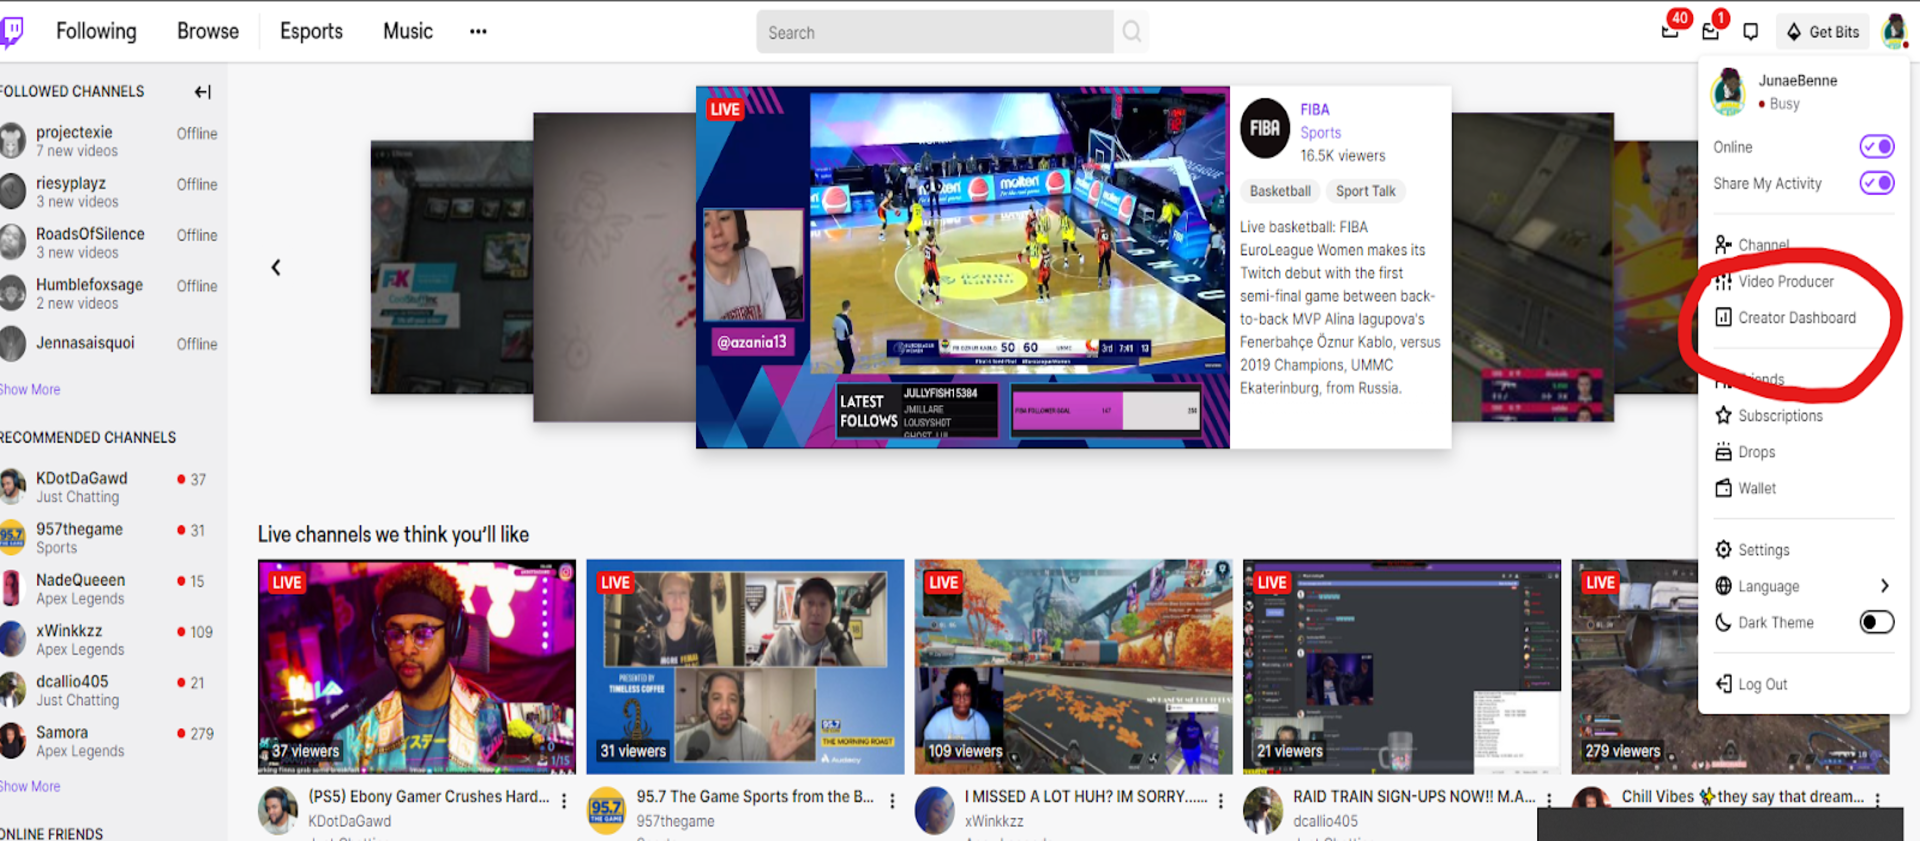
i. Click Creator Dashboard under your account photo in Twitch.
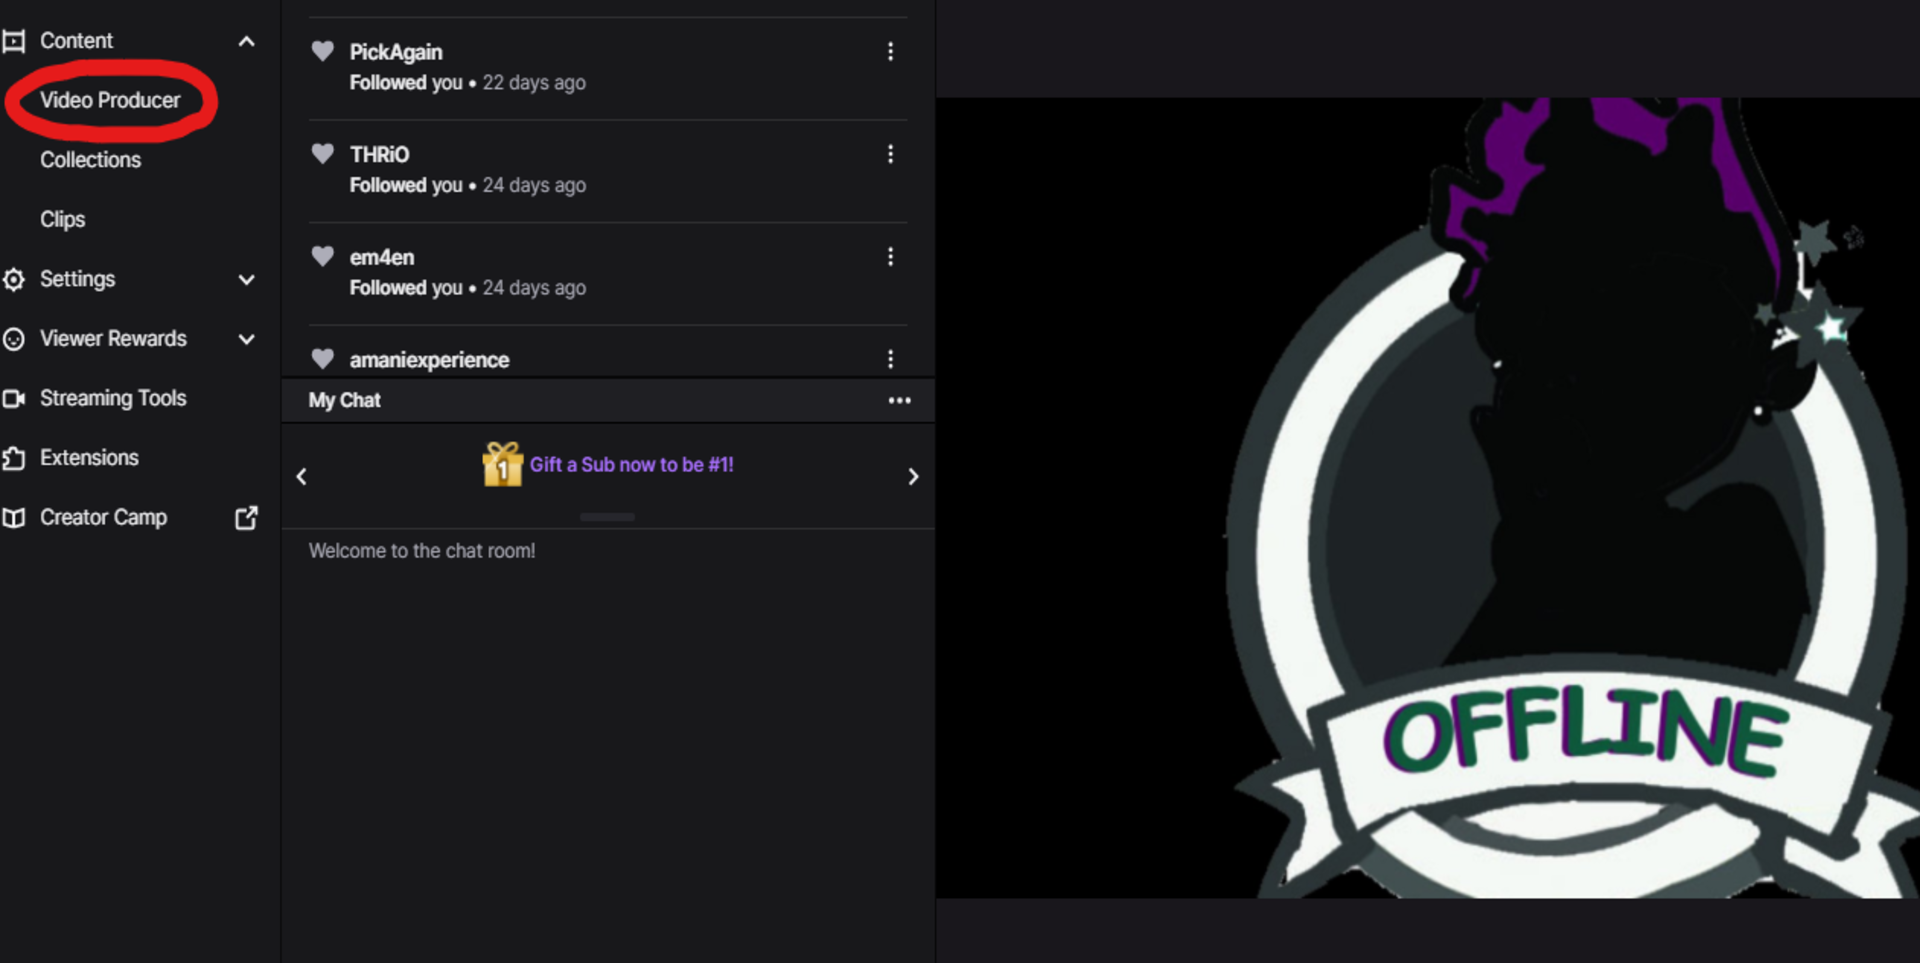
ii. Select Video Producer under Content in the menu on the left
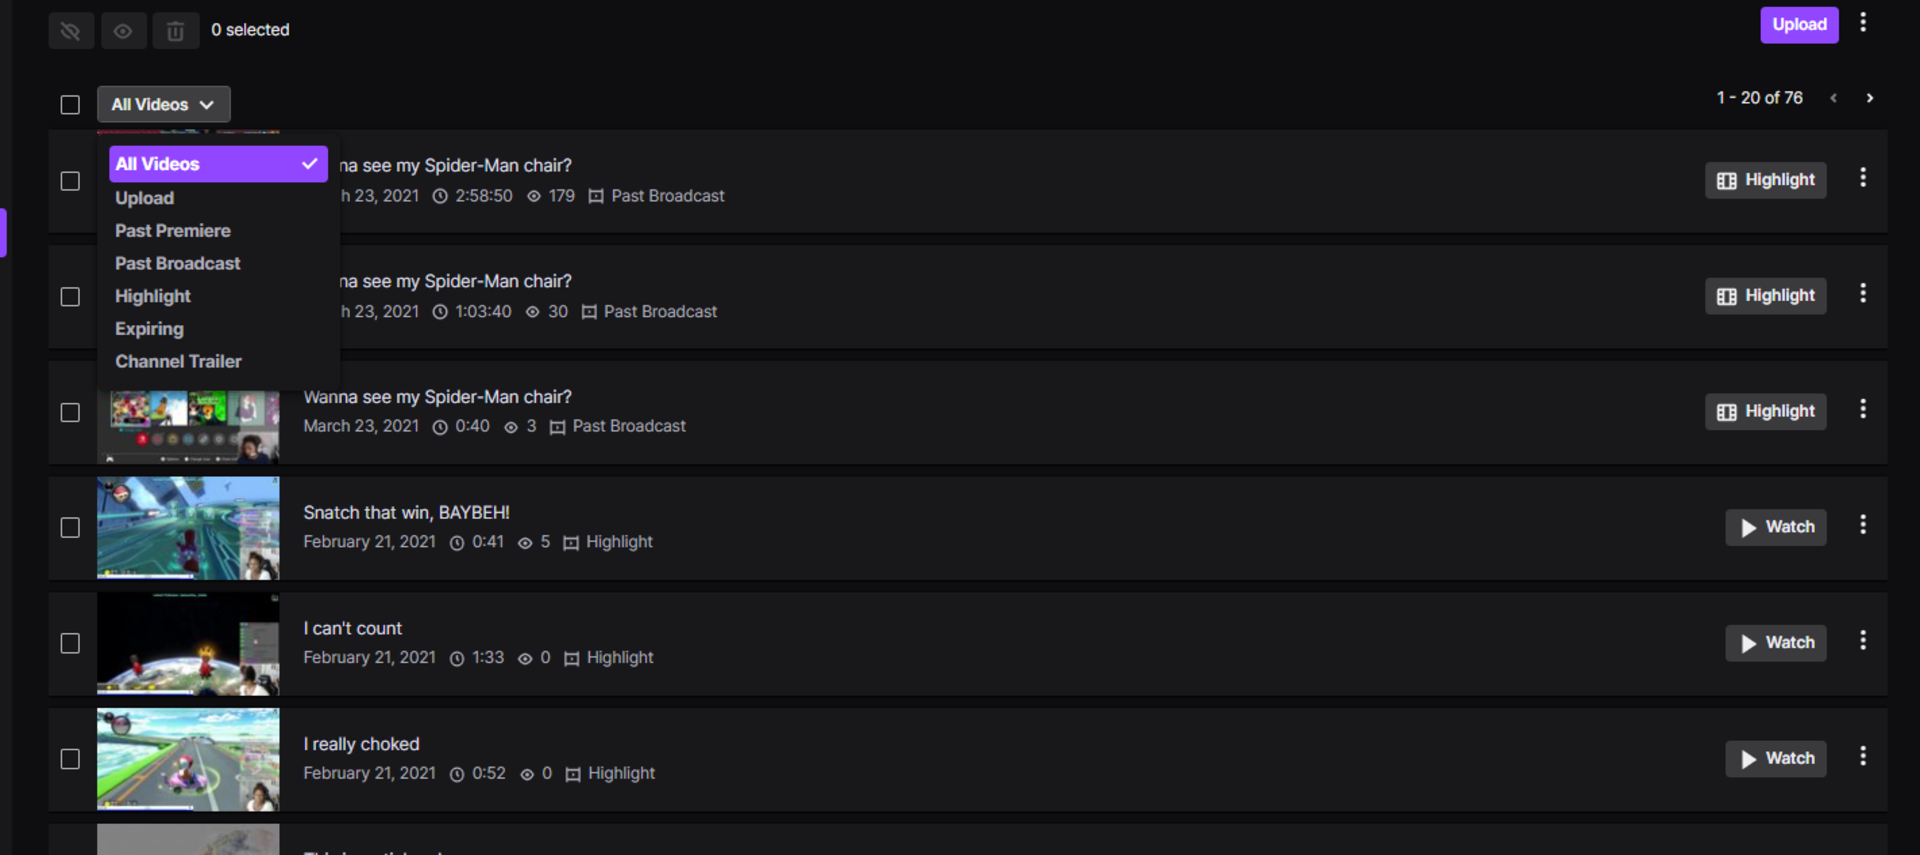
iii. From Past Broadcast or All Videos, selection a stream y'all'd like to highlight
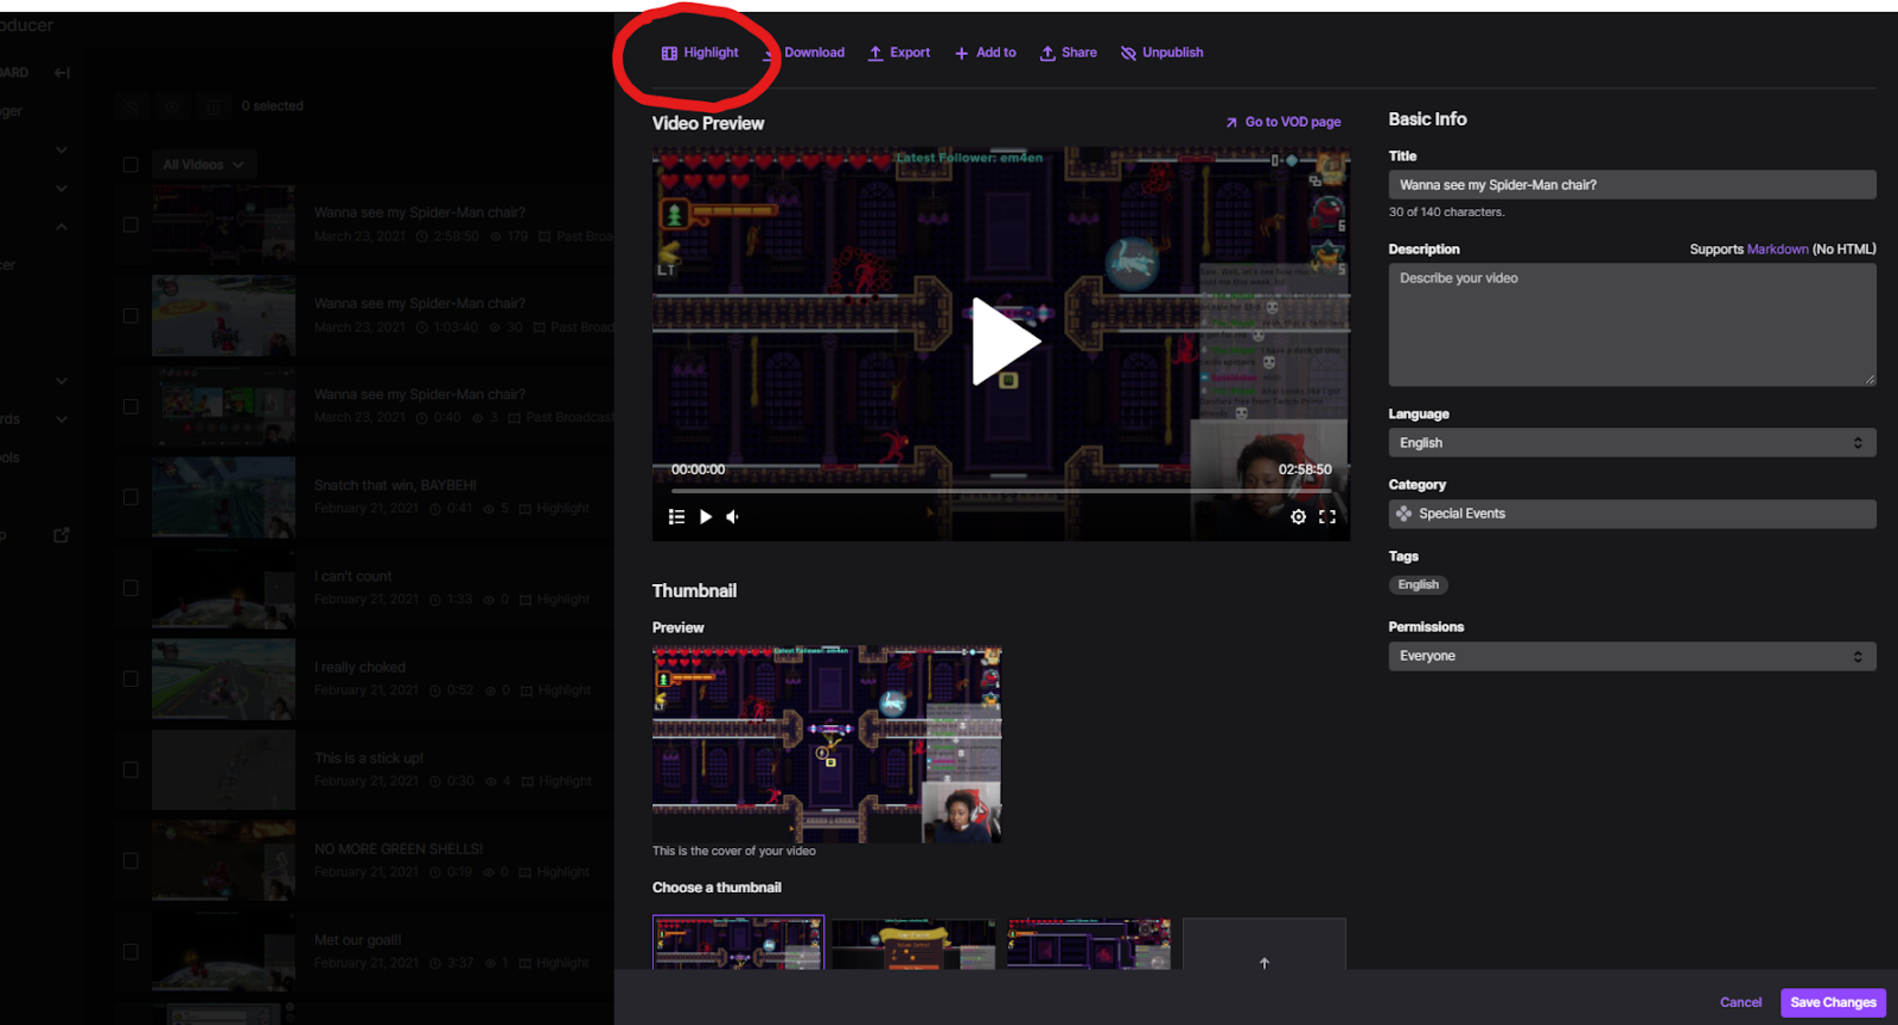
4. Click Highlight in the top menu
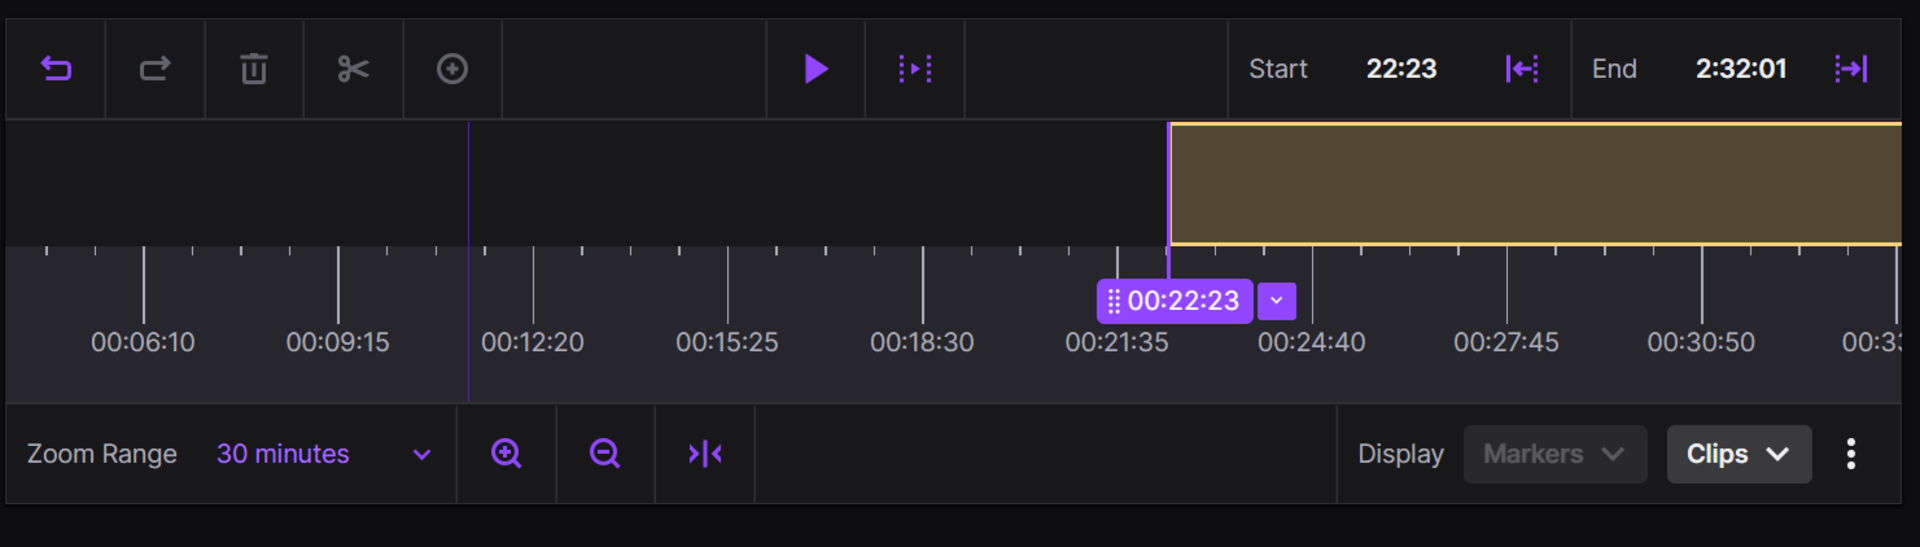
Toward the lesser of the screen, you'll see a timeline with edit buttons.

Editing Your Archived Stream in Twitch
On the timeline nosotros have a few different buttons that are easy to use:
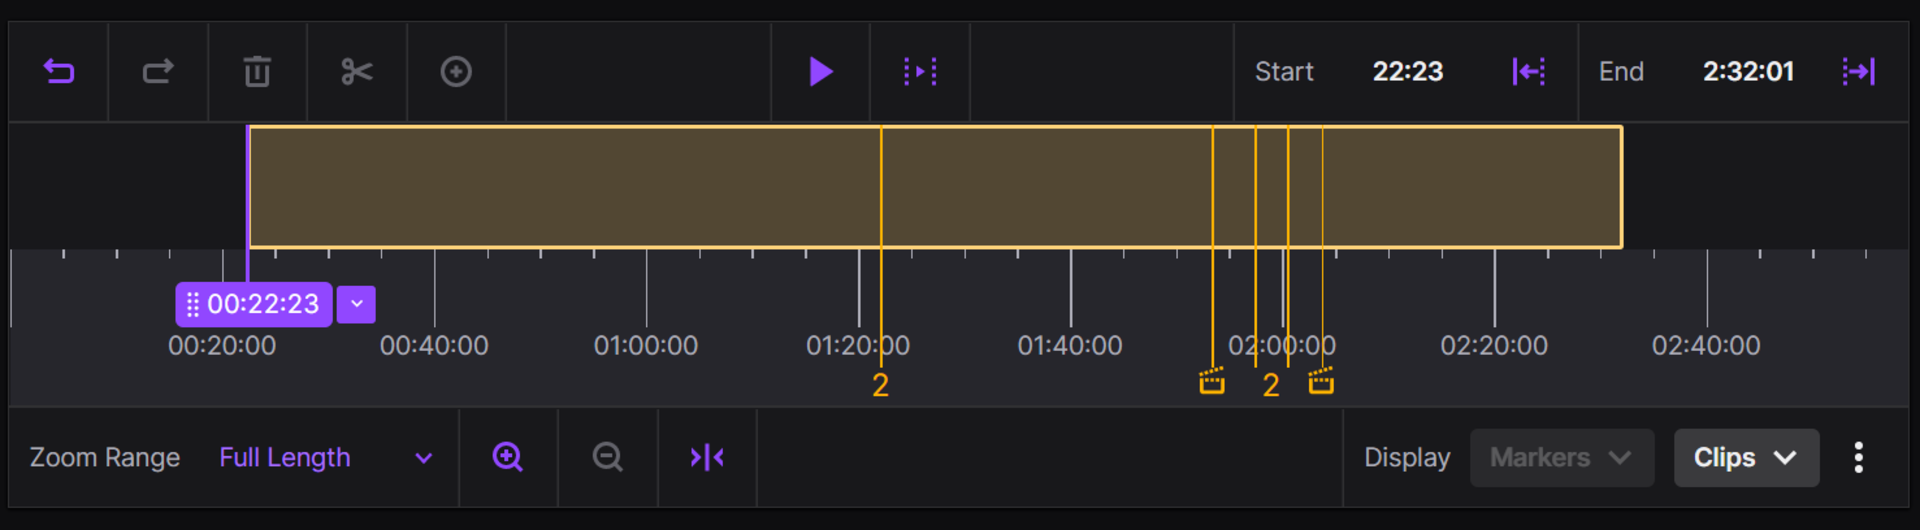
From left to right the buttons are
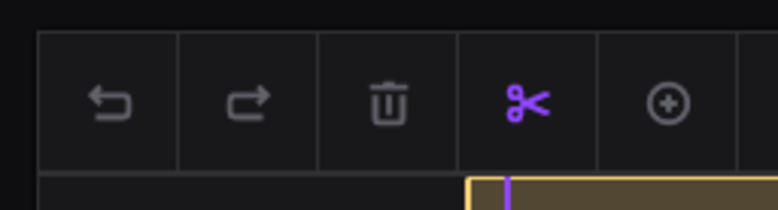
- Undo Timeline Action
- Redo Timeline Action
- Remove Selected Segment - your selected segments will exist highlighted in yellowish box
- Split Segment at Playhead -the playhead is the cursor that yous move back and along on the timeline
- Add together New Segment at Playhead
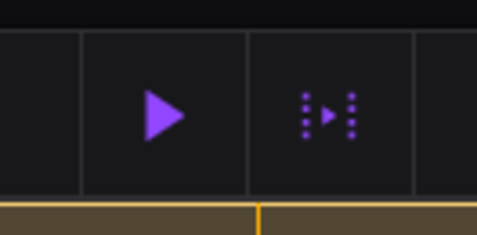
- Preview All Segments - plays the segments on the timeline
- Preview Current Segment - plays the selected segment but
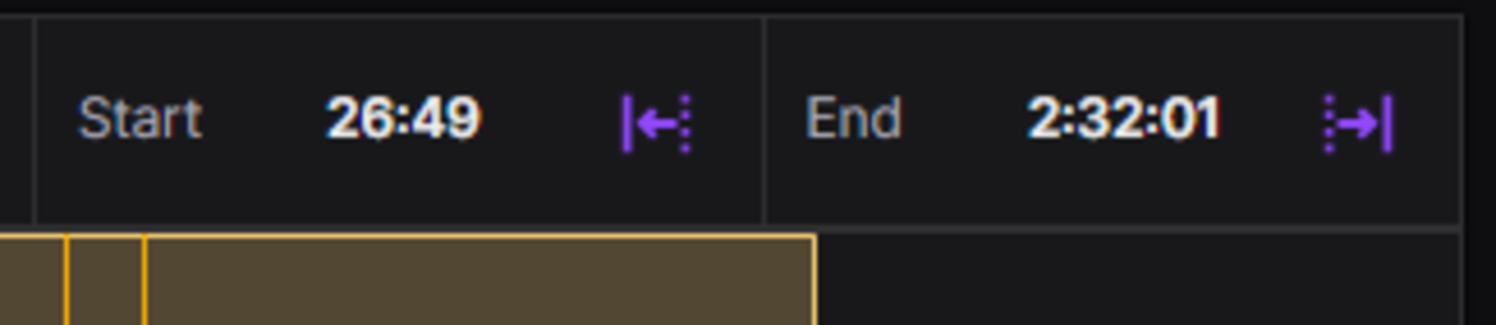
- Input Kickoff Segment Timestamp - this allows you to manually input the exact time for the segment to start
- Kickoff Segment at Playhead
- Input Terminate Segment Timestamp - manually input the verbal time for the segment to end
- End Segment at Playhead
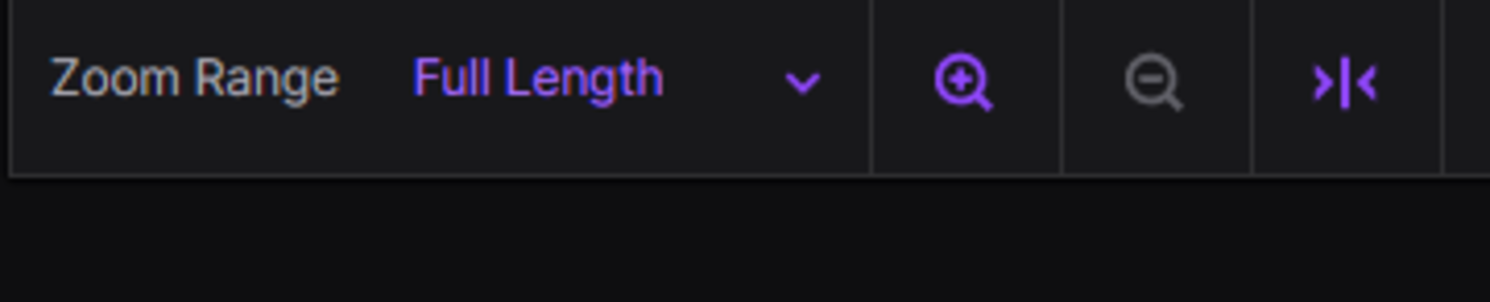
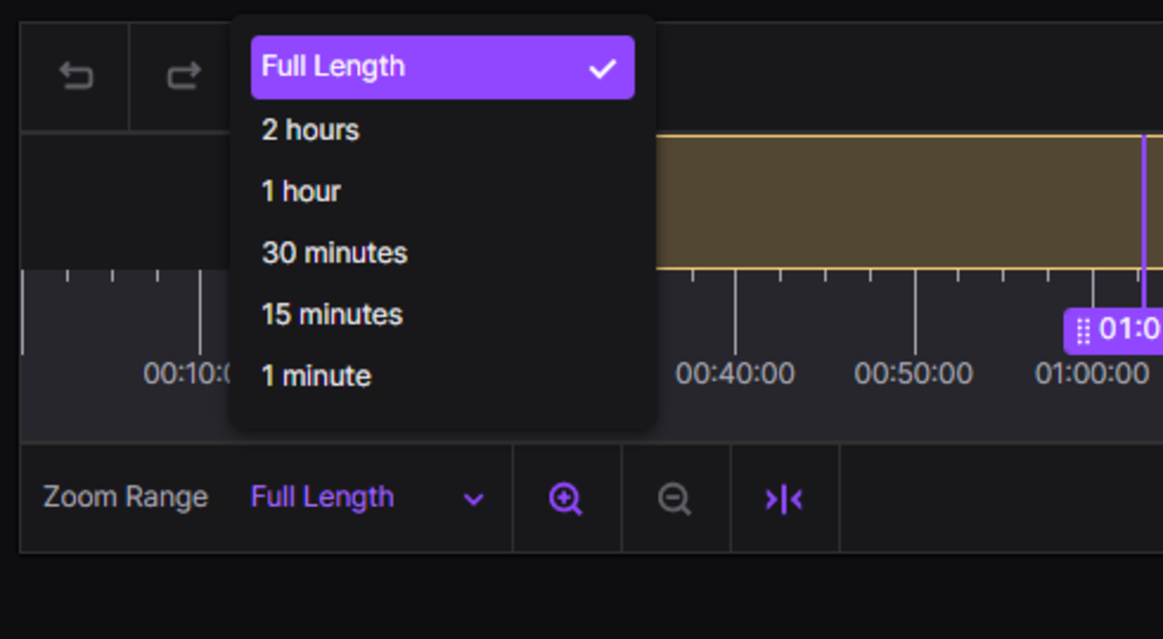
- Zoom Controls - These command the time-frame shown on the timeline. Clicking >|< centers the timelineon the playhead location
- Zoom Range tin be changed from Full Length to 1 minute
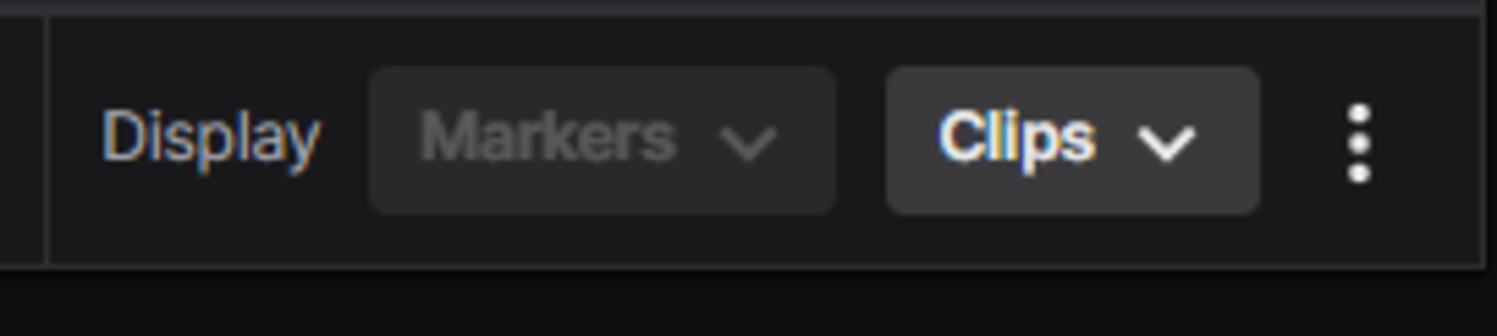
- Display - This allows y'all to filter any Stream Markers that you may have made during stream. *Stream Markers are quick actions done while streaming to mark the place of an interesting event*
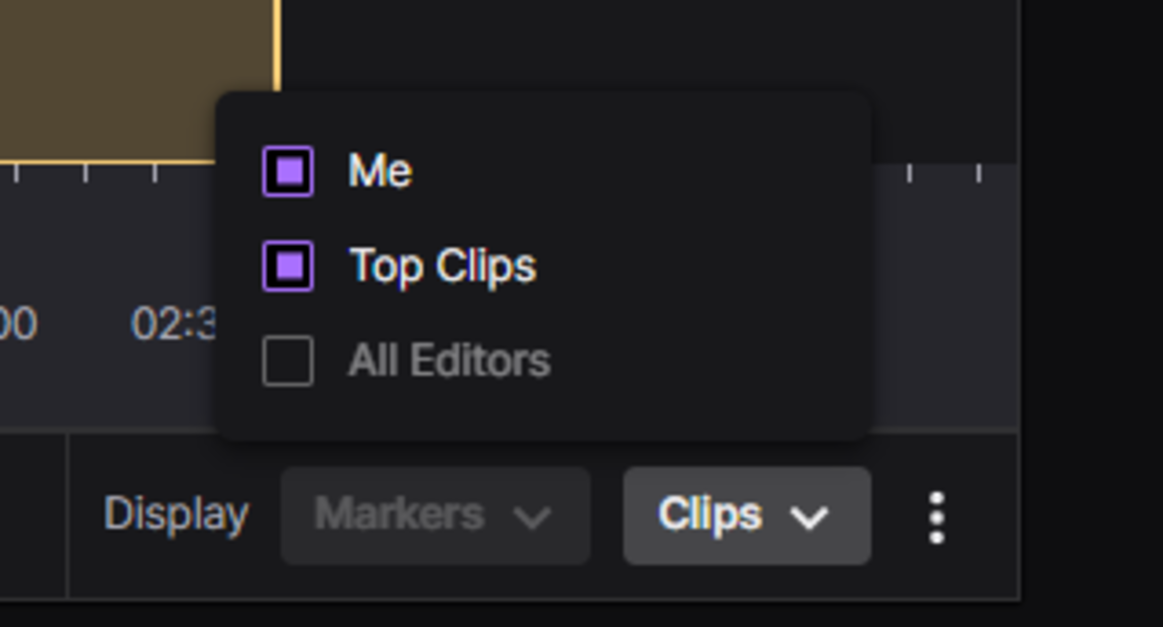
- Clips Menu - this allows you to view clips made past you lot or people watching your stream

- 3 Dots - this allows y'all to downward clips data, and run across keyboard shortcuts
1. Zoom into 30-minute increments. I'm starting at 00:22:23. The numbers are written in the format of hours:minutes:seconds. So my starting place is 22 minutes and 23 seconds into my livestream. I scrubbed through the video using my playhead to select a good starting place.
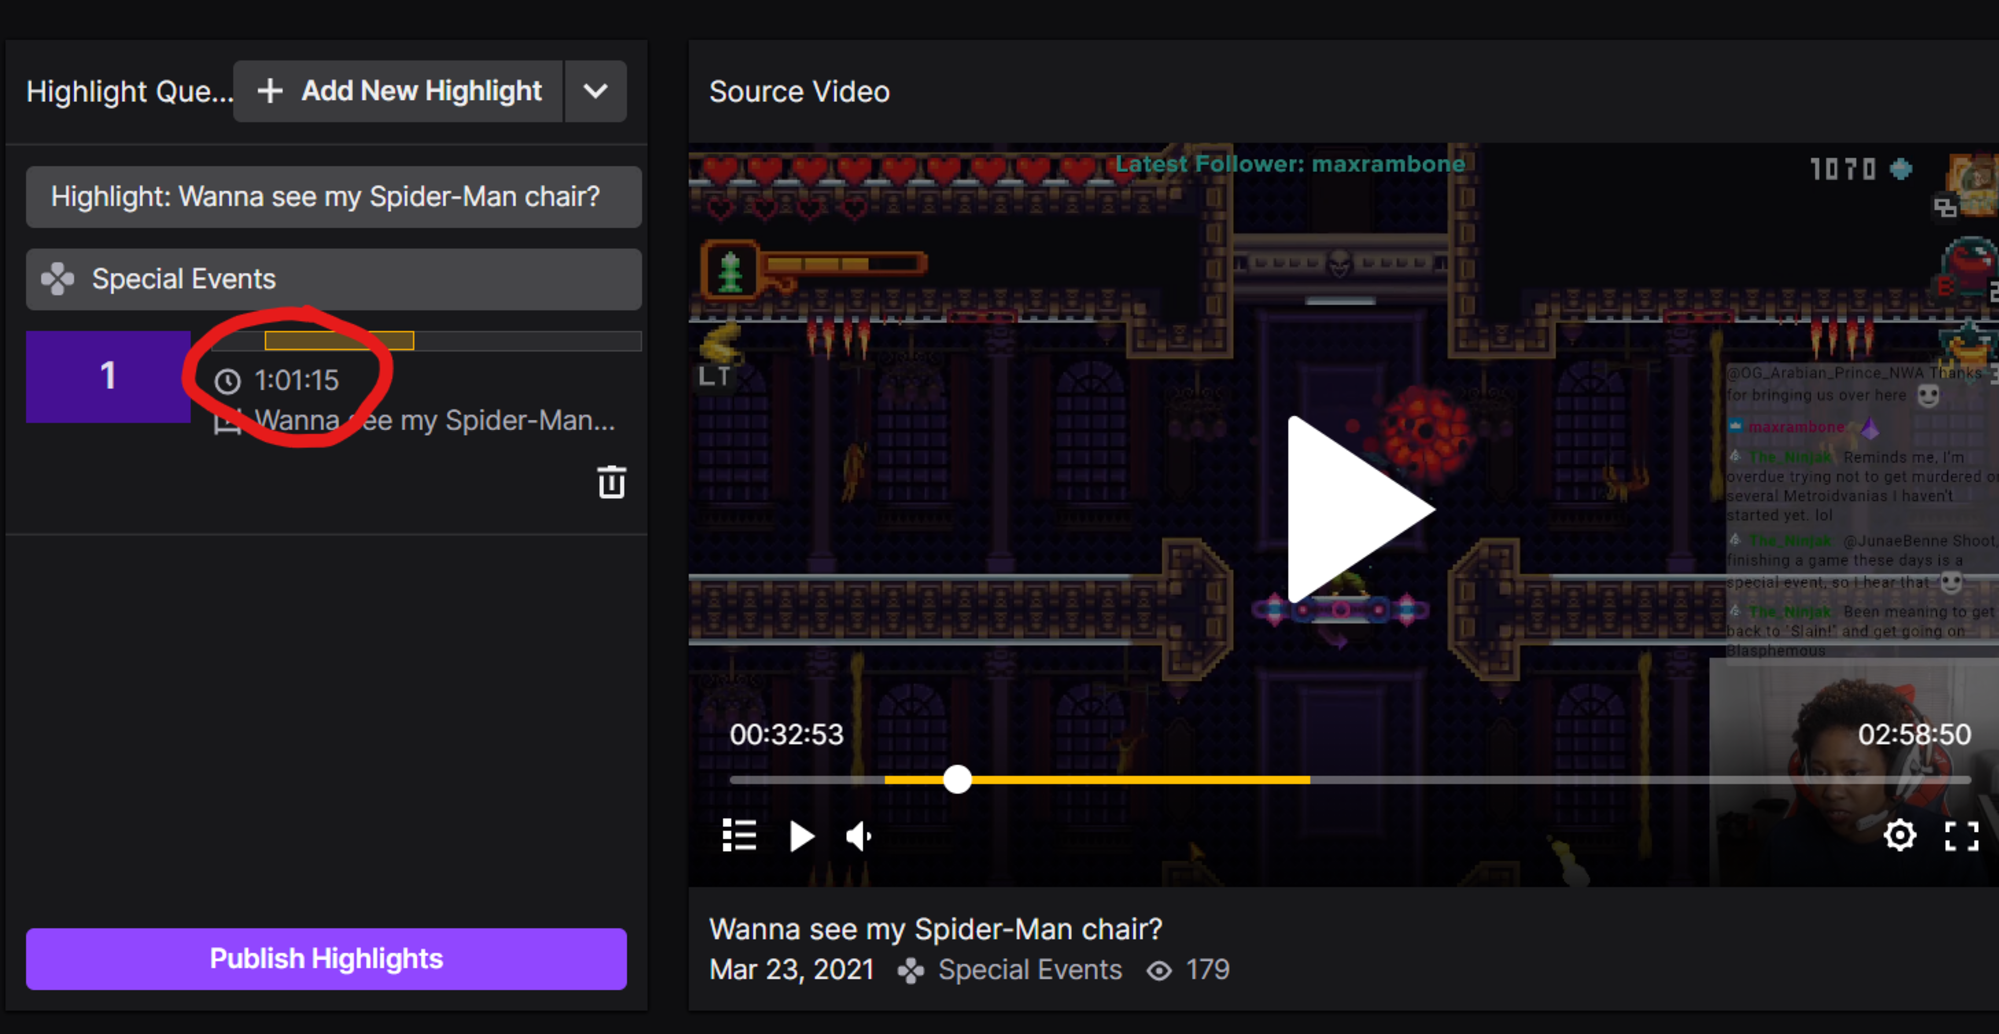
ii. Zoom out to Full Length to view the whole segment to cull a place to end the segment
iii. Highlight the end of the segment and elevate it to a place where you desire to terminate. In my instance, right now it ends at 02:32:01. Afterward dragging it, it ends at 01:23:35.
The Highlight Queue on top of the timeline tells you the length of the segment, in my case 1 hour, one minute and 15 seconds long.
Creating Multiple Highlights in Twitch
The Highlight Queue will tell y'all to create multiple highlights, rename your highlight and change the category.
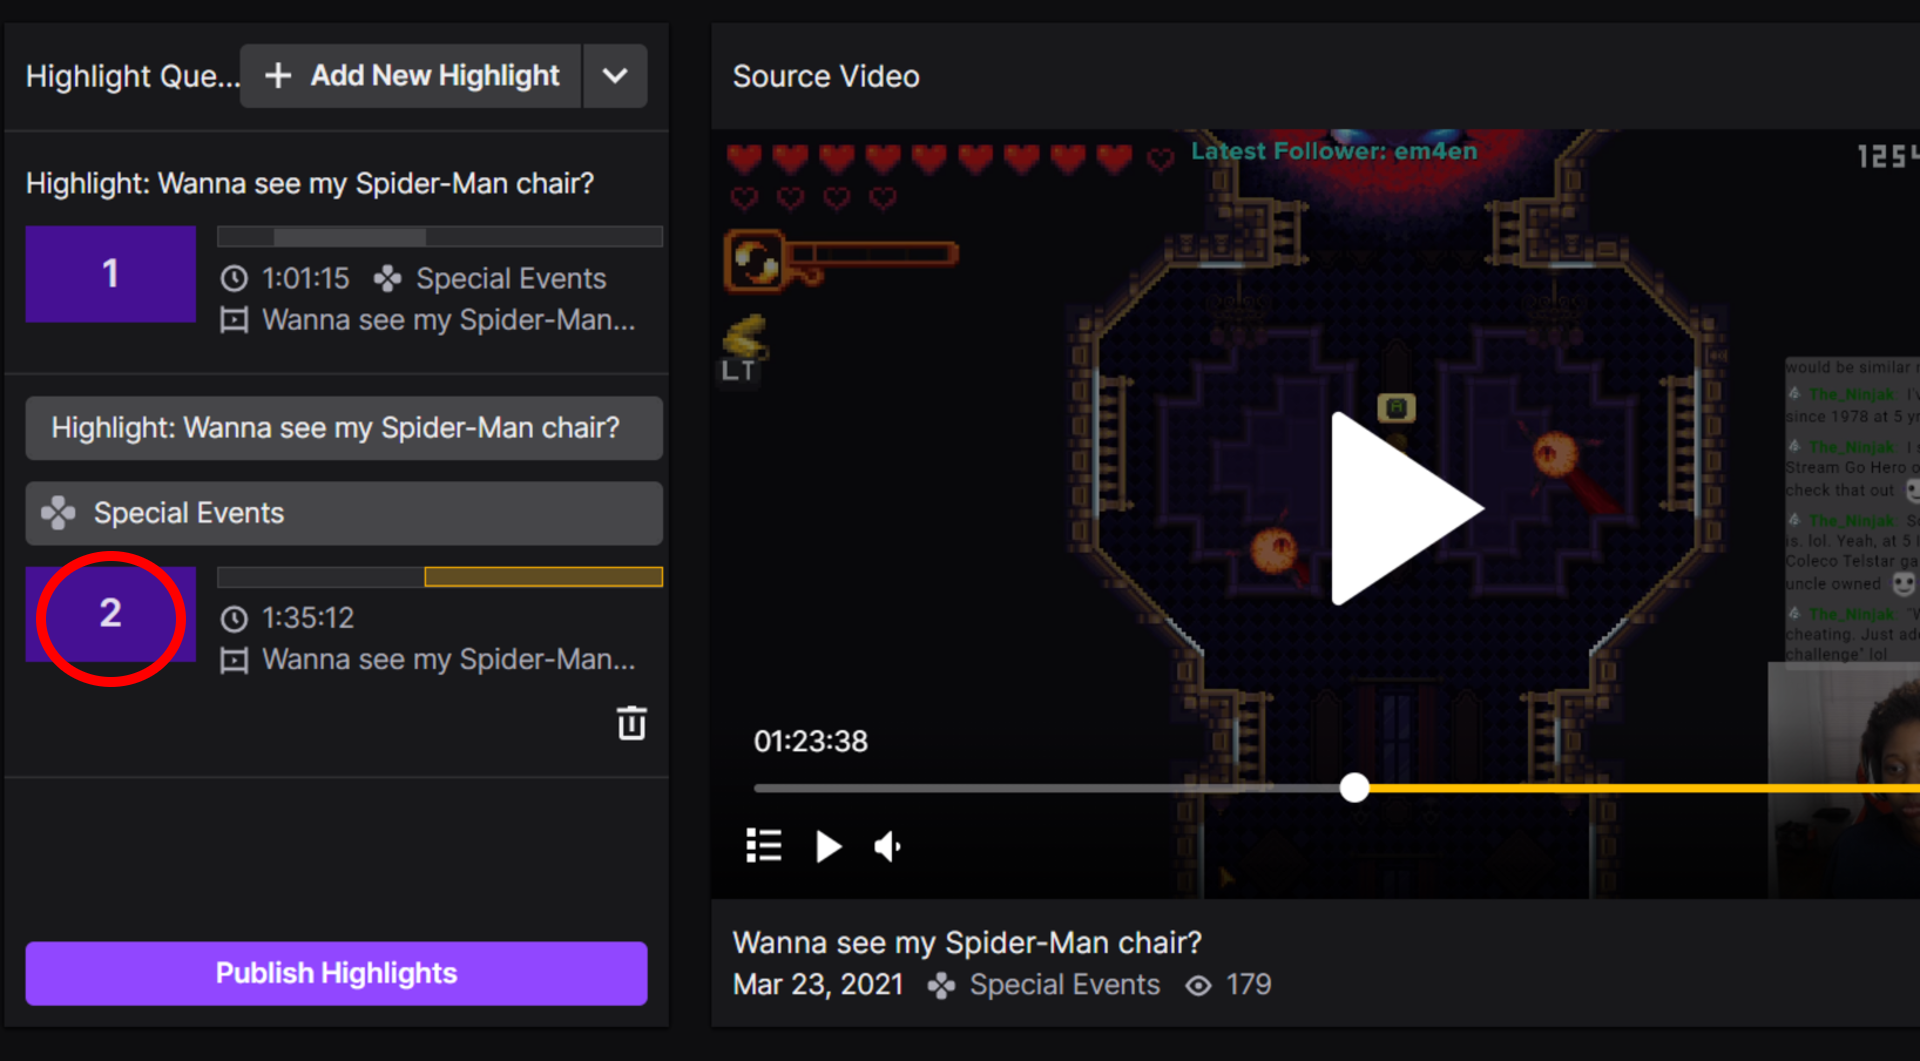
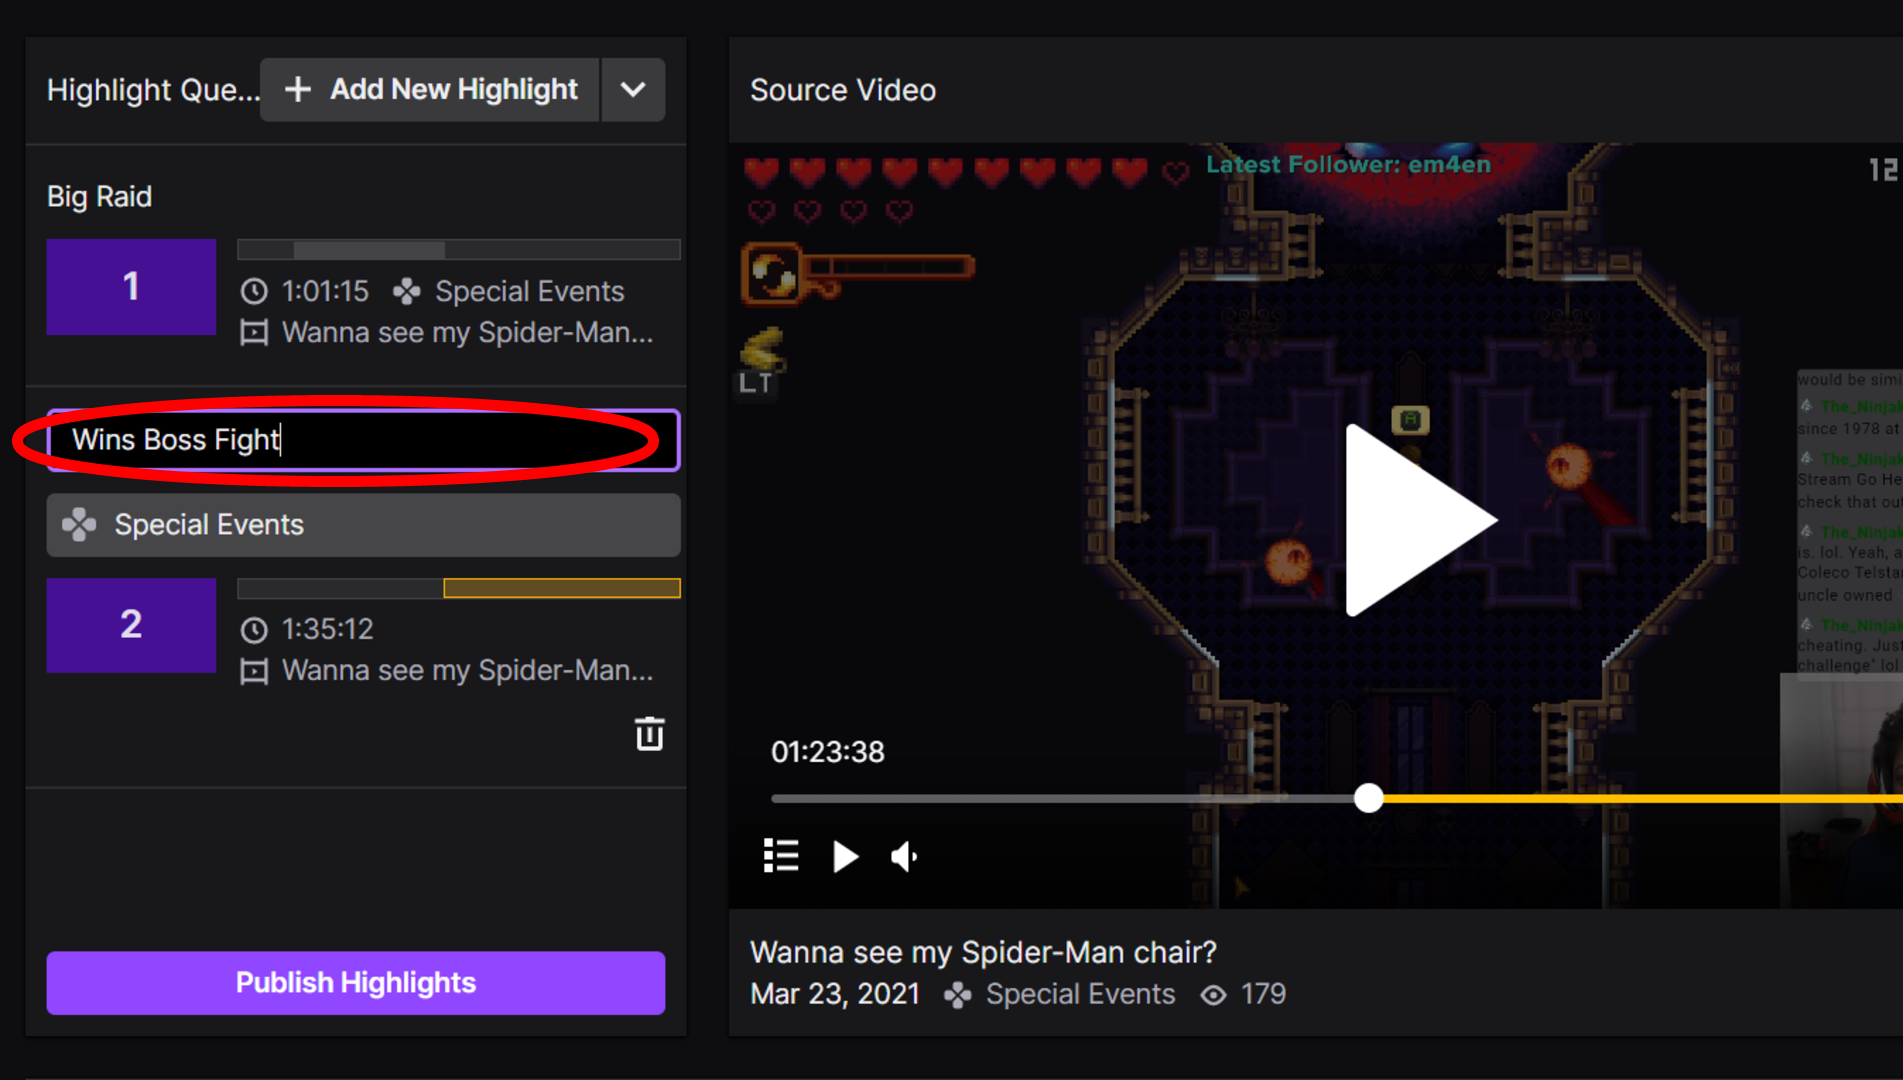
2. Proper name the highlight by clicking the start box
3. Modify the category by clicking the second box
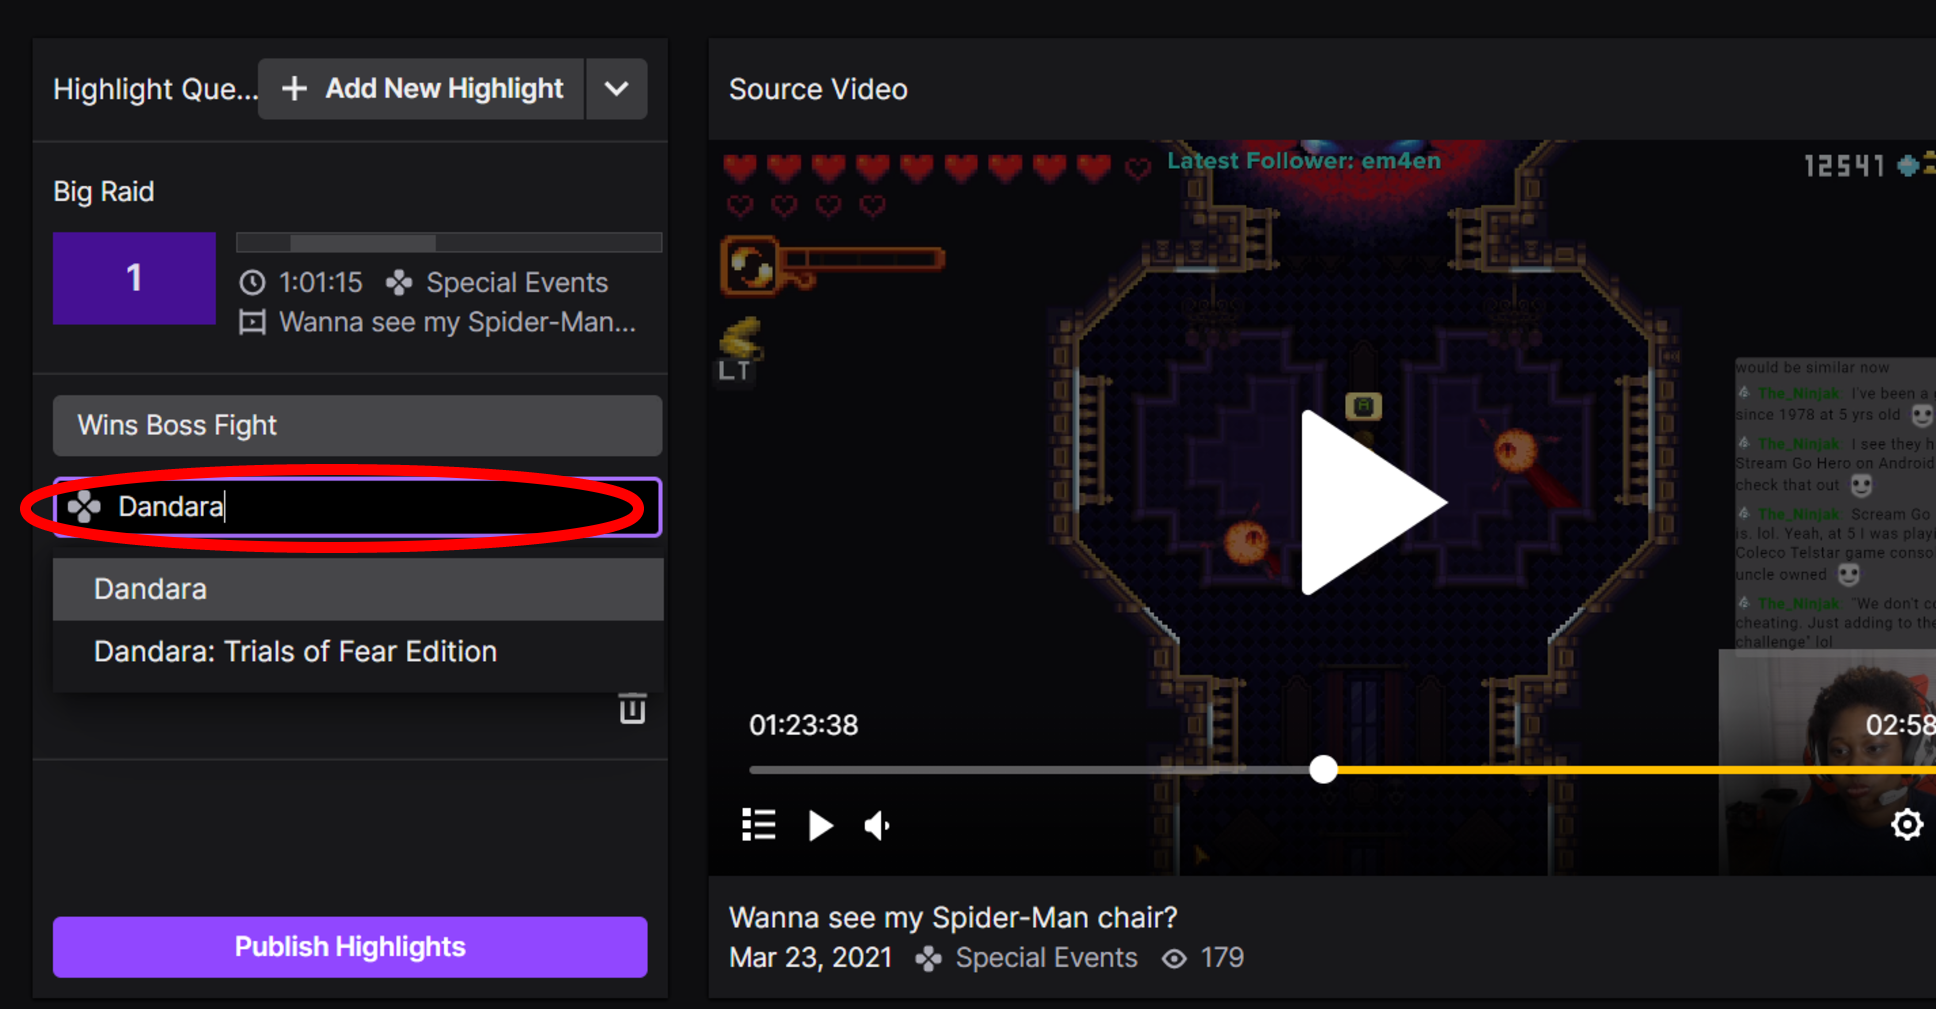
4. Echo the steps on how to create a highlight
This sample highlight is 4 minutes and 46 seconds, which is longer than a clip which can only be 60 secs. You lot can brand your highlights as long as you lot'd similar.
5. Once you have all the highlights you'd like click Publish Highlights
Your highlights will beginning rendering and y'all'll run across this page. On the correct side menu, you lot can edit your title, add together a description, change the language, change the category, add tags or set permissions of who tin can see it. On the left side you can preview the video, upload a thumbnail or view the link for the highlight
One time the video is doing processing you tin can download, export, share, unpublish or add together it to a list.
Y'all can now run into your highlights in your Video Producer
How to Export Your Twitch Highlights to YouTube
1. Plow on Store Past Broadcasts
2. Click Stream in the Settings on the Creator Dashboard Card
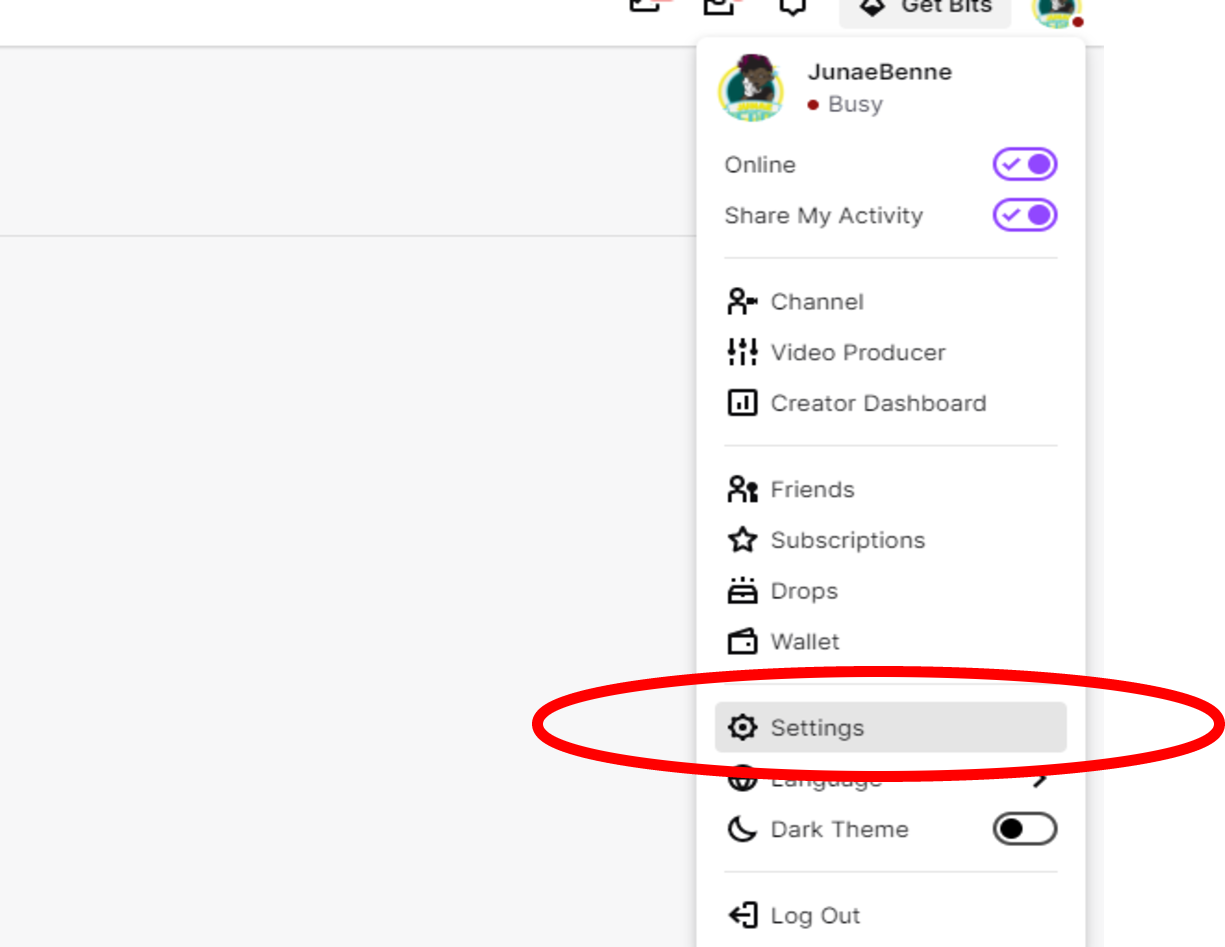
3. Select Settings in Twitch. It's located in the right corner nether your avatar.
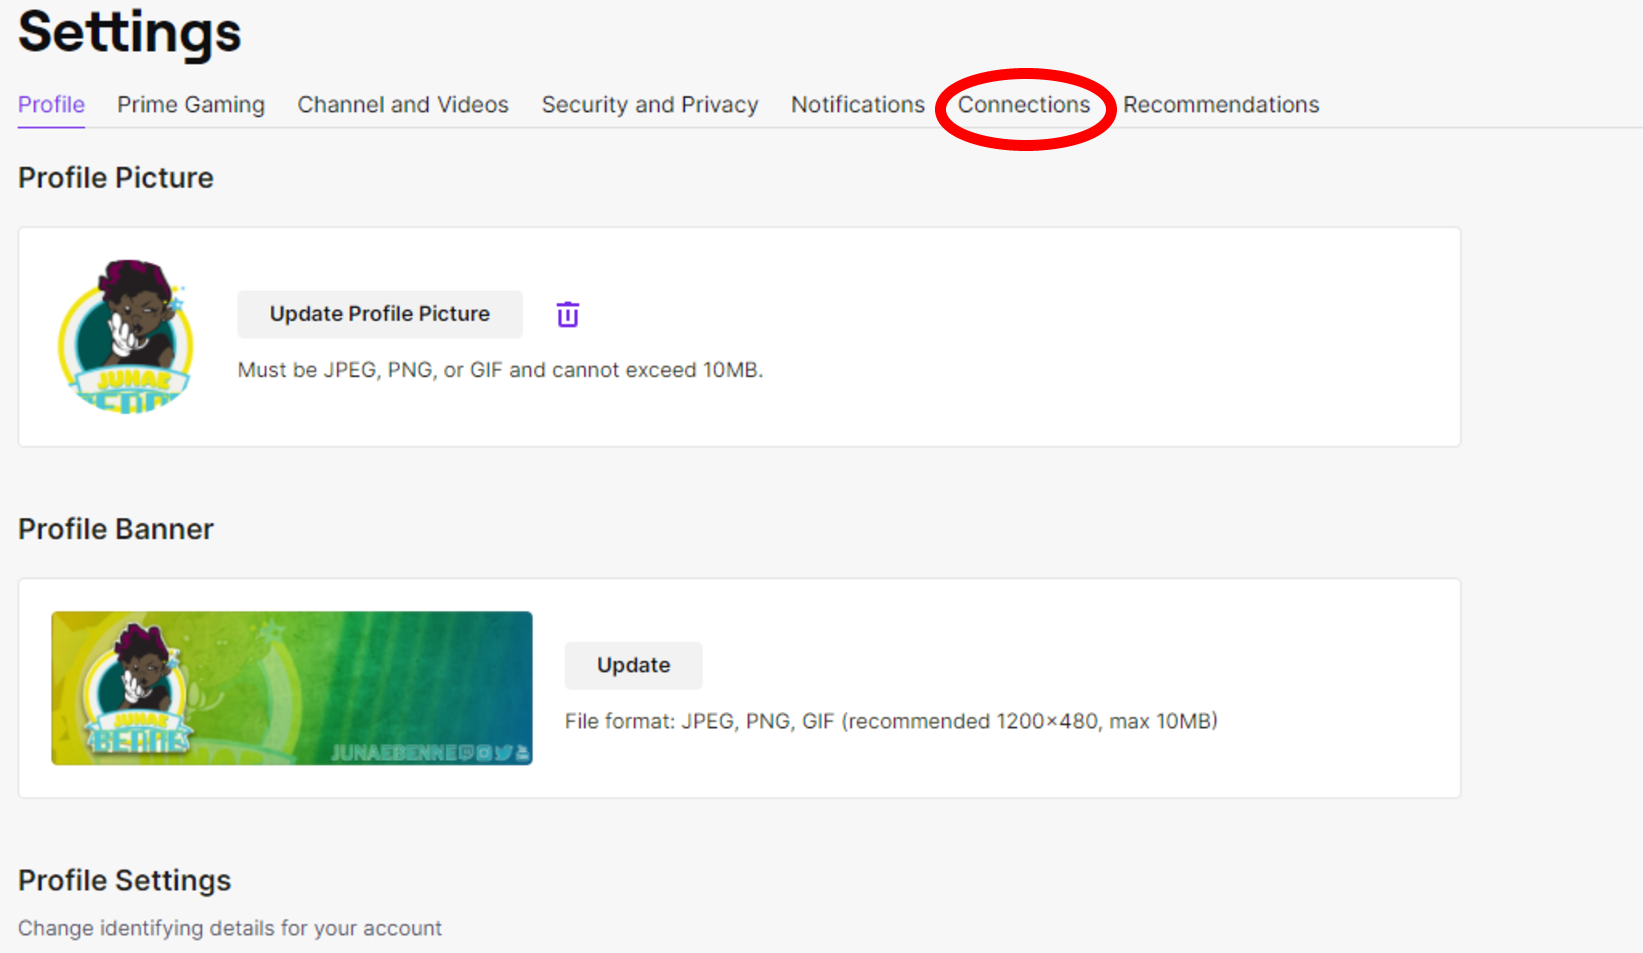
4. Click Connections
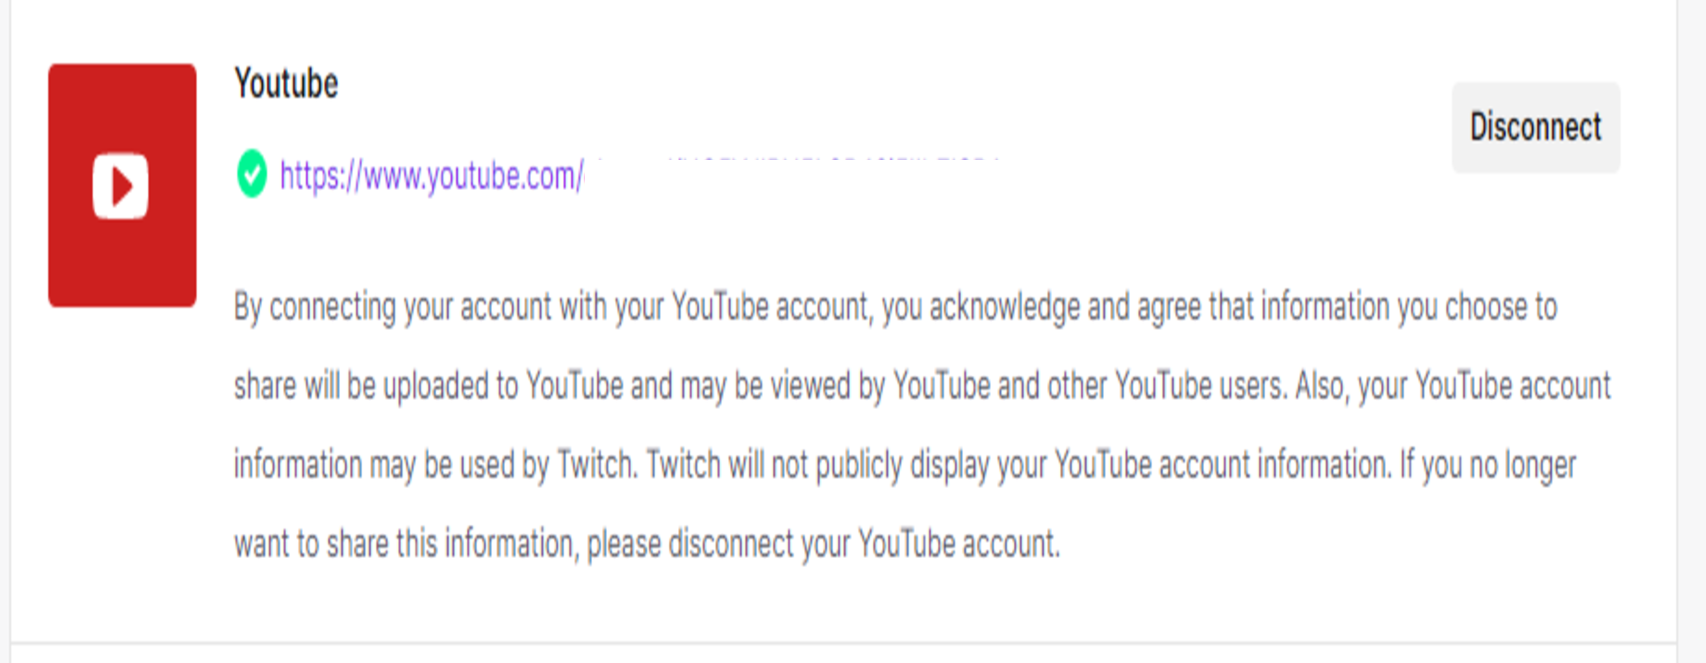
5. Connect YouTube Business relationship
half-dozen. Click Video Producer in Creator Dashboard.
7. Choose the highlight you'd like to export.
8. Click Export on your highlight to export information technology to YouTube.
ix. Click First Export.
How to View and Publish Your Twitch Video on YouTube
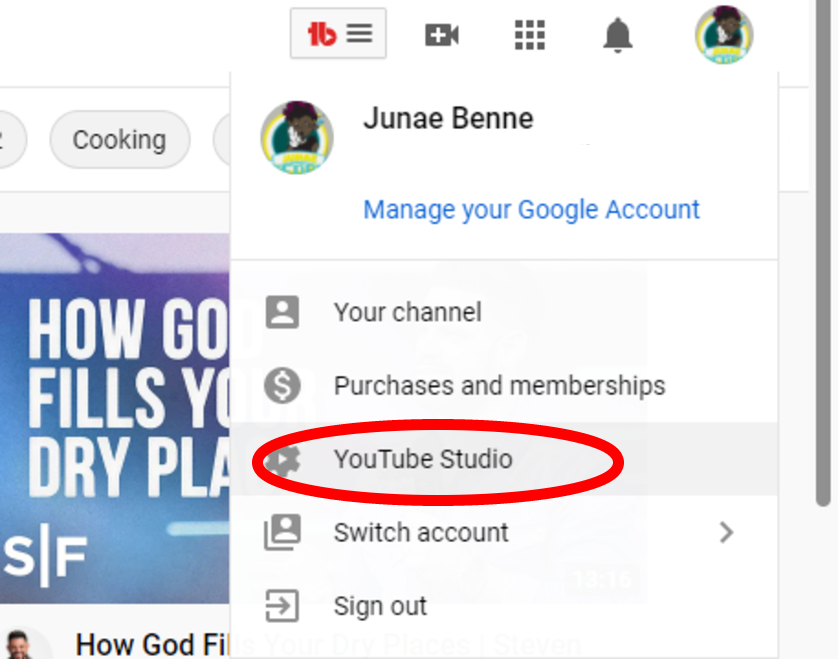
Select YouTube Studio under your profile photo on YouTube.com
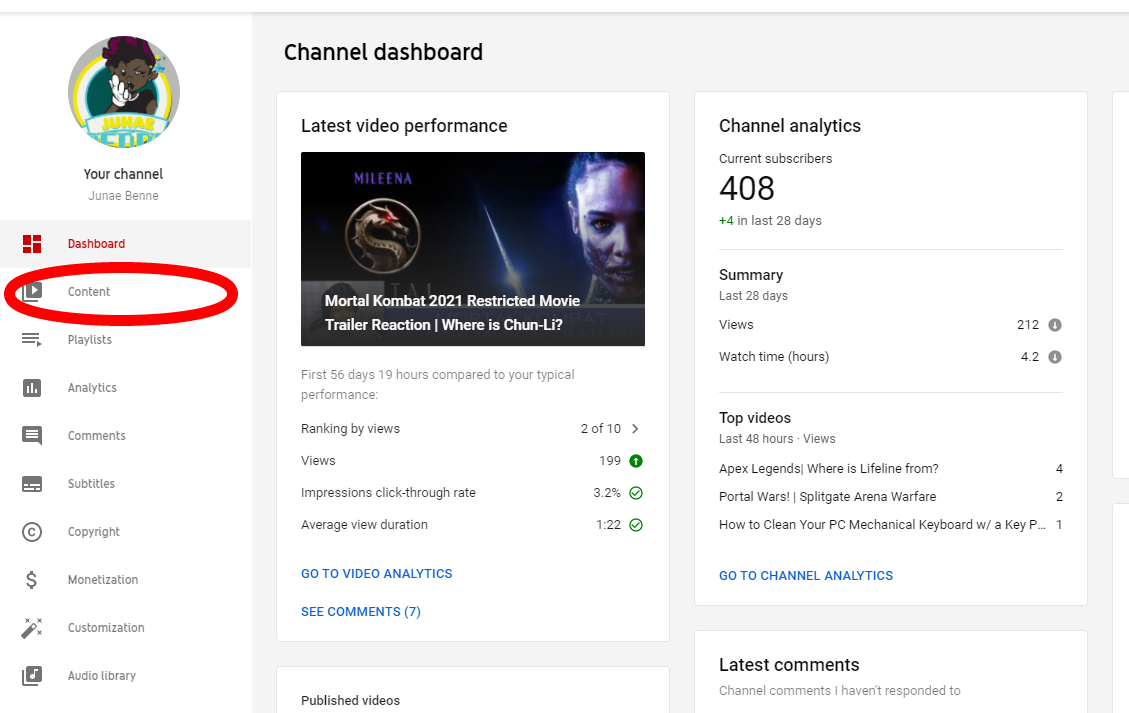
Select Content from the carte du jour on the left side
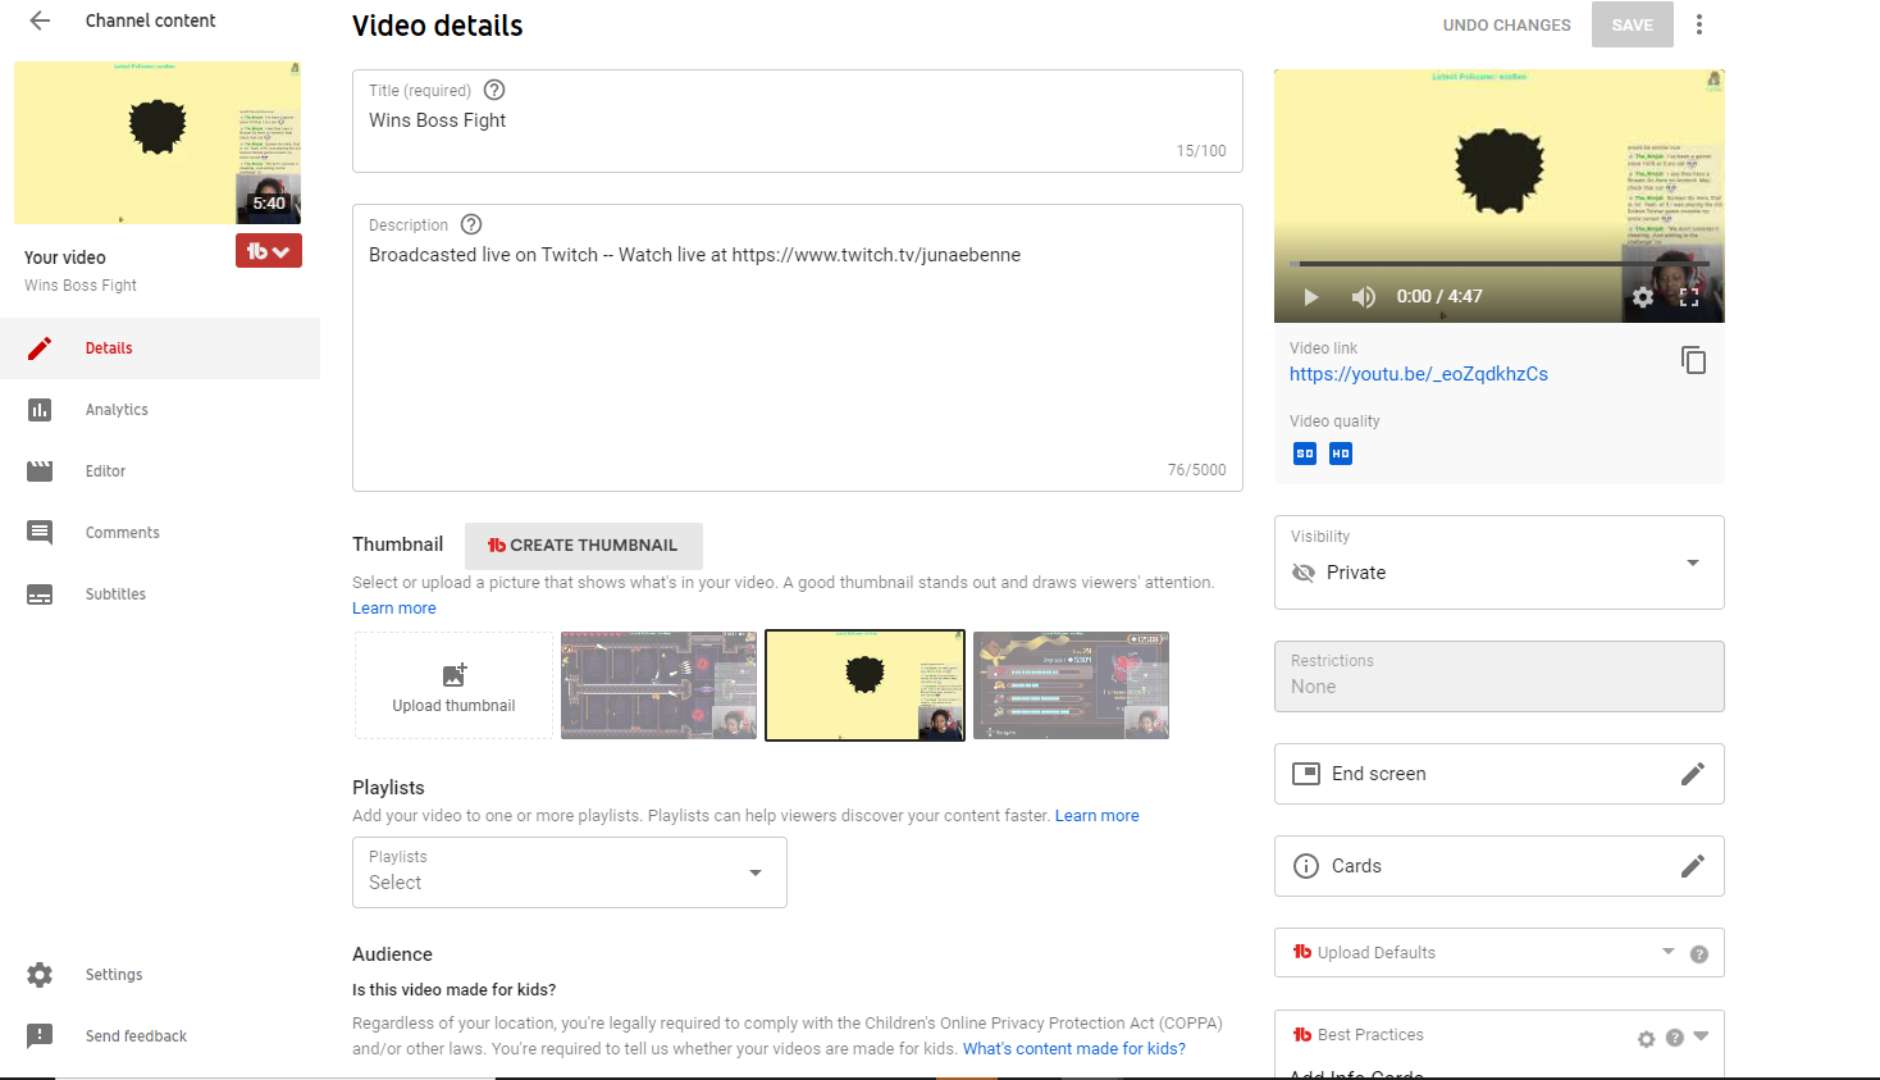
Select the video y'all uploaded from Twitch. The video volition be private if you ready the export to private or public if you ready the export to public

You lot'll then run into the video in full particular. From here y'all can add together more tags, tweak the description, and set up the video to public if you haven't done so already.
Source: https://www.tomshardware.com/how-to/publish-highlights-of-twitch-to-youtube
Posted by: higdonlifid2001.blogspot.com
0 Response to "How To Upload Streams From Twitch To Youtube"
Post a Comment